
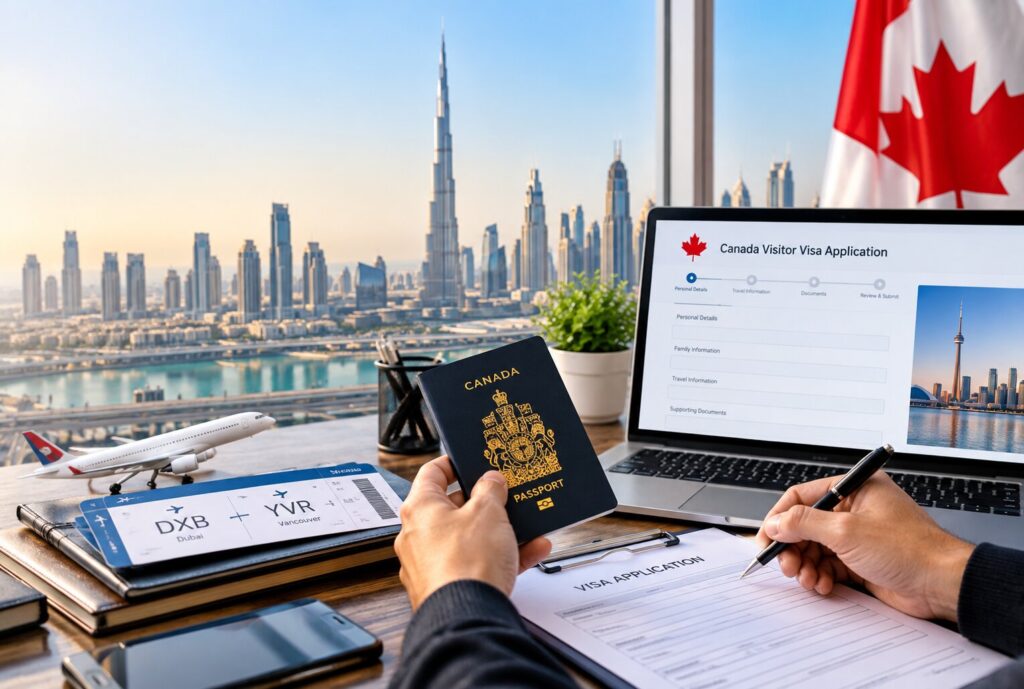
Canada is a long way from Dubai, so there is a bit of planning to do before you get on the plane. One of the first things to take care of is your visitor visa. From gathering your documents to completing biometrics, there are a few steps you will need to follow.
If you are wondering how to apply for a Canada visa from Dubai, the process is easier to understand when you take it one step at a time. Here is a simple guide covering what you need to prepare and what to expect along the way.
Step 1- Find Out If You’re Eligible
You don’t have to start filling out the application right away. First, take a look at the basic requirements and make sure you meet them. For a Canadian visitor visa, you’ll need a valid passport or travel document. You also need to show that your trip is temporary and that you plan to leave Canada when your visit is over.
It’s also important to show that you can cover the cost of your stay. Depending on your situation, this could include bank statements, employment details, or information about your family and other commitments.
Then there is the visa itself. Make sure you are applying for the one that matches your plans. Visiting Canada is one thing, but working or studying there involves a different type of application.
Step 2- Have Your Documents Ready
Good preparation can save you a lot of time. Before you start your Canada visa application in Dubai, collect the documents that support your trip.
These may include:
- A valid passport.
- Bank statements or other proof of funds.
- Employment documents.
- Travel history, if available.
- A basic travel itinerary.
- Accommodation details.
- An invitation letter, if you are visiting someone in Canada.
- Other documents requested based on your situation.
Your documents should tell a clear and consistent story about your trip. For example, your travel plans, finances, and employment details should not contradict each other.
Step 3- Complete Your Online Application
Most visitor visa applicants apply online through Canada’s immigration system. You will need to create or use an account, answer questions about your situation, complete the required forms, and upload your documents.
Take your time with this part. Check names, passport numbers, dates, employment details, and travel information before moving ahead. Even a small mistake can create unnecessary delays or questions later.
This is also the stage where you should make sure you are applying for the right visa based on the reason for your trip.
Step 4- Pay the Fees and Submit Your Application
Once you’ve finished the forms and checked everything, you can move on to the payment and submission. The visitor visa fee is CAD $100 per person. If biometrics are required, there is also an additional CAD $85 fee for an individual applicant.
Don’t be in too much of a hurry to submit it. Have another look at the whole application first. Make sure the documents are uploaded and that things like your name, passport number and dates are correct. If everything looks fine, you can go ahead and submit.
Step 5- Complete Your Biometrics
If you need to give biometrics, you’ll get a letter with the details after submitting your application. This usually means providing your fingerprints and a photograph.
There isn’t much to figure out here. Just follow the instructions in the letter and book your biometrics at the location mentioned. If a biometrics fee applies to you, you’ll need to pay that as well.
Try not to put this off once you receive the instructions. Your application can’t move forward properly if a required biometrics appointment is left incomplete.
Step 6- Track Your Application
Now comes the waiting part. You can check what’s happening with your application through your IRCC account or the application status service.
Keep an eye on your account while you wait. You may get a message asking for another document, some extra information, or another step from your side. If you do, check exactly what they are asking for and send it within the time given.
Also, don’t book everything around a date you expect to hear back. Processing times can change, and every application can take a different amount of time.
Step 7- Get Your Decision and Prepare for Canada
When the decision comes, check the instructions you receive. If you’re approved, you may need to submit your passport so the visa can be placed in it.
Then, before the trip, have a look at your passport, visa, flight and accommodation details, and the other documents you’ll be carrying.
It’s also worth knowing that a visa doesn’t automatically mean you can enter Canada. The final decision is made by a border services officer when you arrive.
Mistakes That Can Cause Problems
The application itself isn’t the only thing to think about. A few common mistakes can cause problems along the way:
- Leaving out documents: Check the requirements carefully and make sure you’ve uploaded everything you need.
- Giving different information: Your job details, dates, travel plans, and other information should match throughout your application.
- Overlooking a request: If immigration asks you for something else, don’t ignore it. Check what they need and reply within the given deadline.
- Providing false details: Stick to real documents and accurate information about your situation.
- Leaving it too late: Give yourself enough time to apply, complete biometrics, and deal with anything else that comes up.
Final Checklist for Your Dubai to Canada Trip
Got your Canada visa? Before you start packing, check the basics one more time. Your passport, visa, flight details, hotel information, and other important travel papers should all be ready.
For anyone looking to apply for a Canada visa from Dubai, it helps to start early. There can be a few steps involved, including document preparation and biometrics. If you need help figuring out what comes next, Holiday Wanders can guide you through the process.
Once that part is taken care of, your Dubai to Canada visa plans can move ahead without quite so much paperwork hanging over you.